


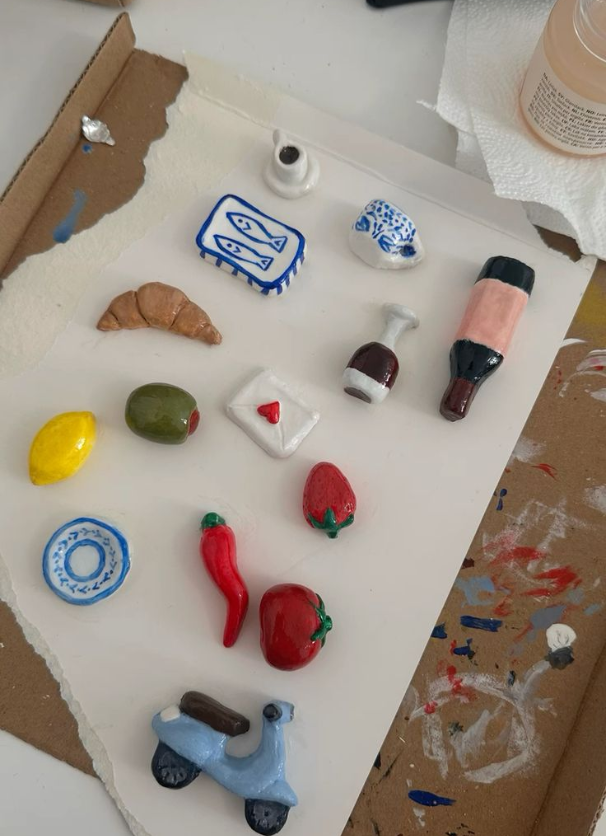
Looking for a craft that’s as fun for adults as it is for kids? Enter Air-Dry Clay. It has all the creative joy of traditional pottery without the need for an expensive kiln or a messy pottery wheel.
Whether you’re looking to entertain the kids during the Perth school holidays or you want to hand-craft some unique gifts, air-dry clay is the perfect “kitchen table” craft.
Why We Love It
-
Accessible: You can buy a block at Kmart, Bunnings or order it online from a craft shop or Amazon.
-
Low Mess: Unlike “slime” or glitter, air-dry clay stays in one place and wipes up with a damp cloth.
-
No Oven Required: It hardens just by sitting on your counter for 24–48 hours.
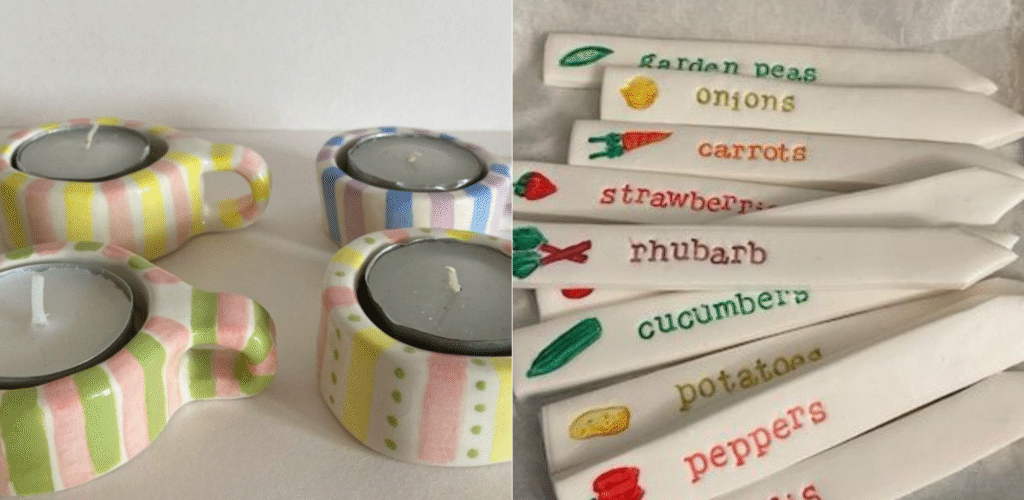
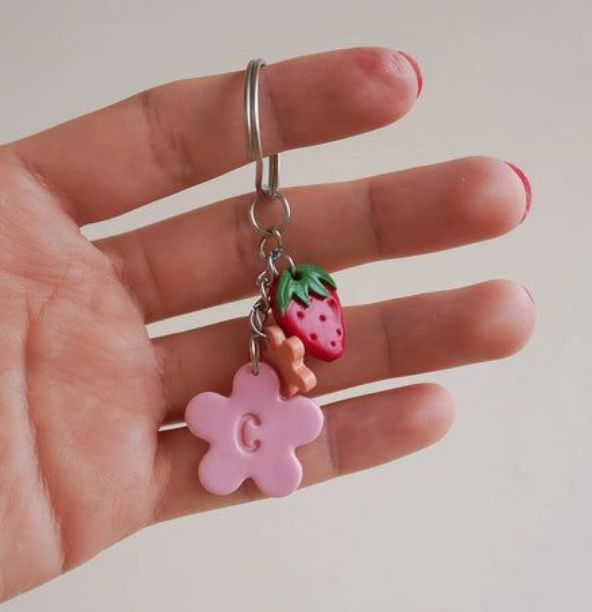
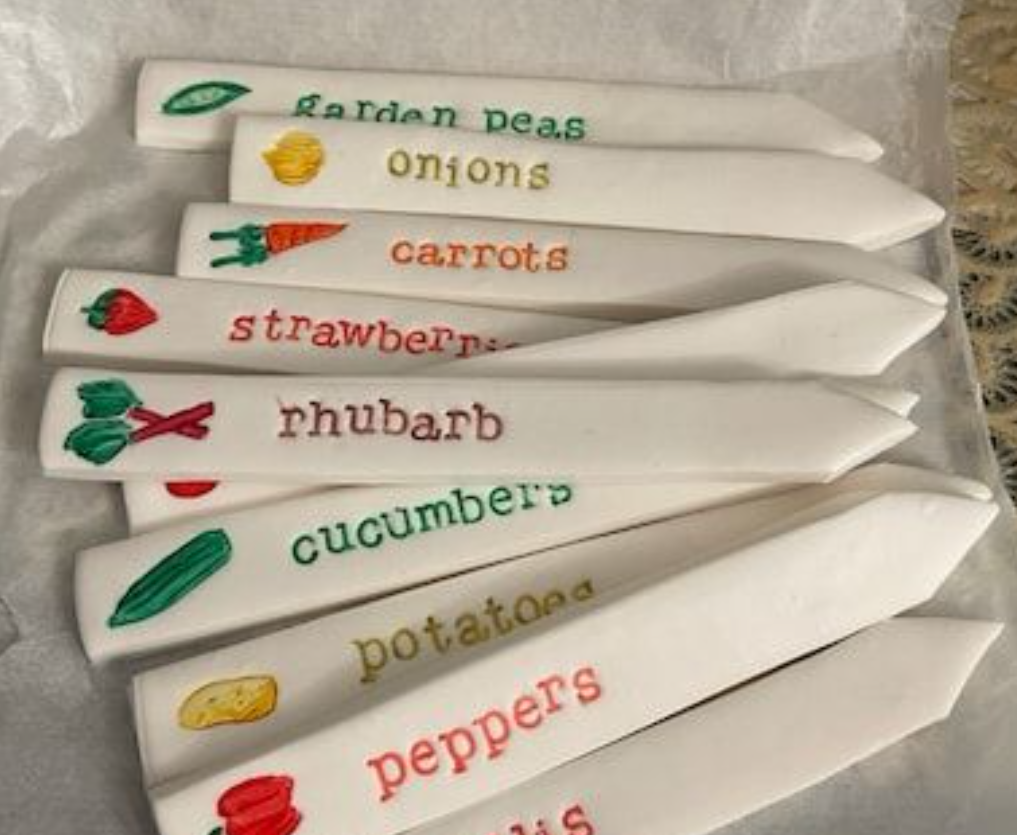
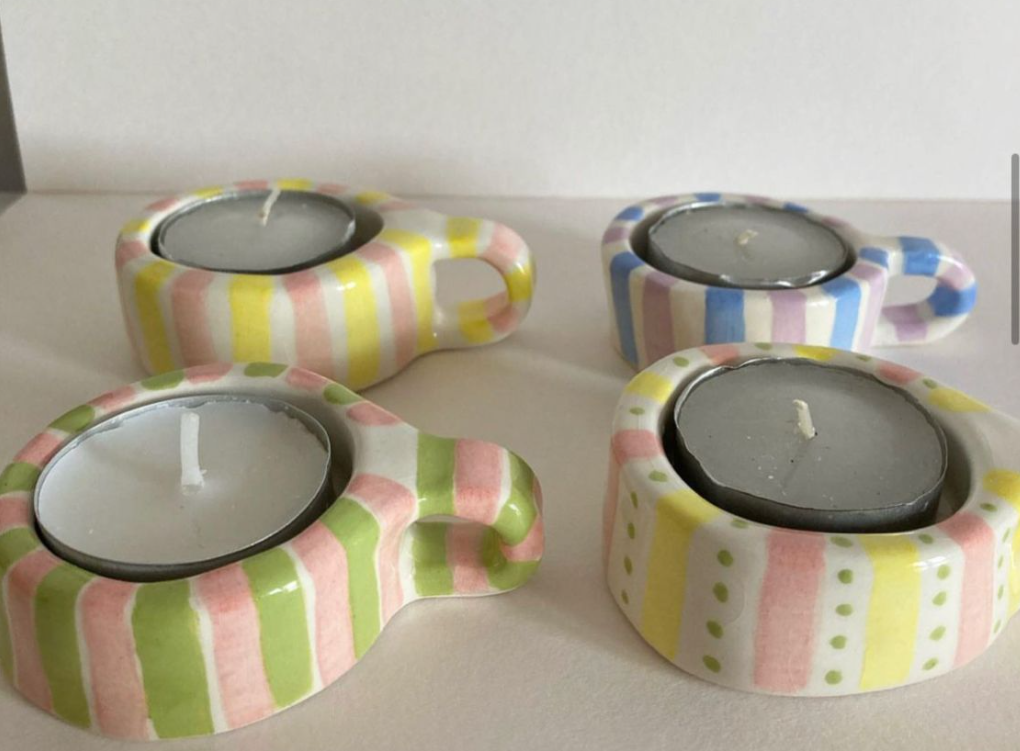
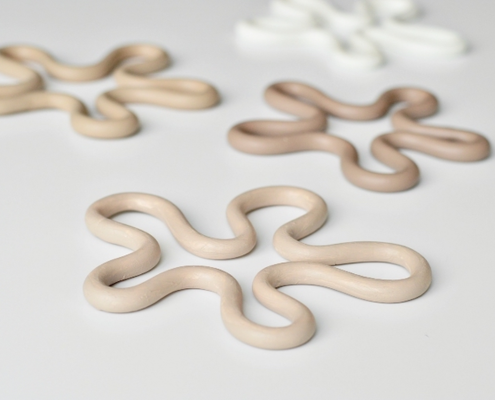
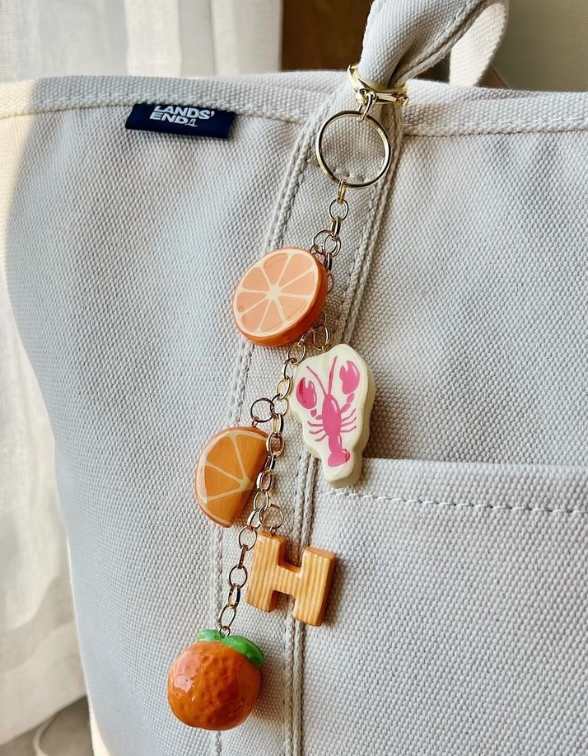
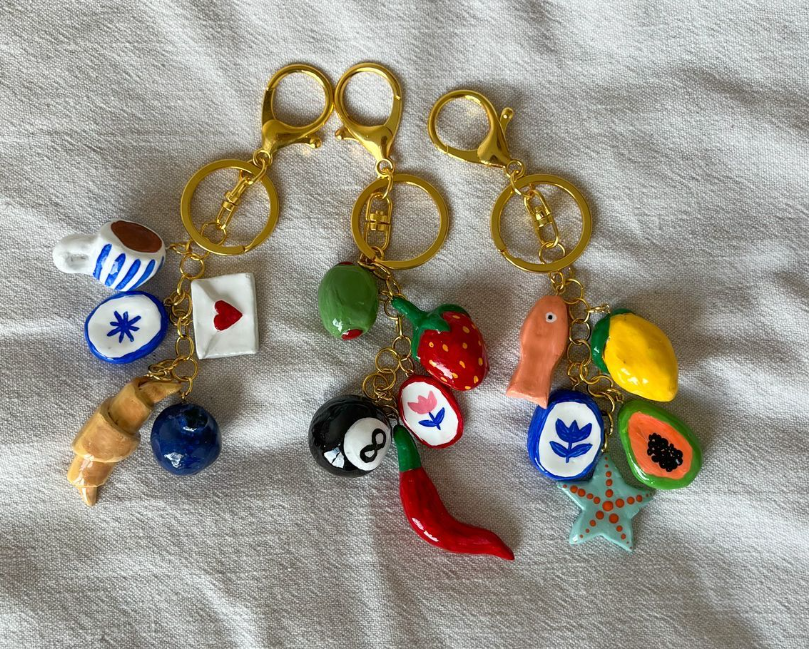
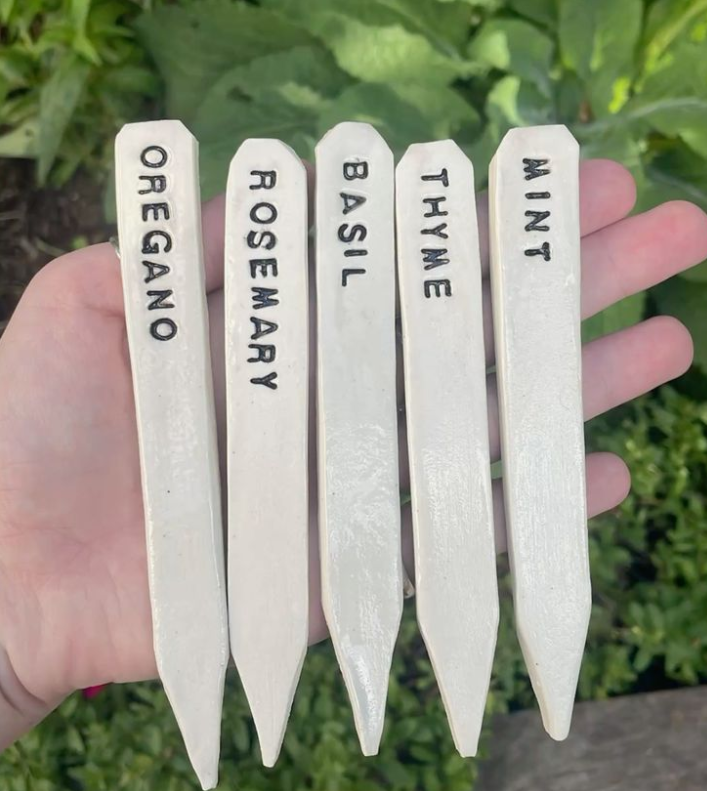
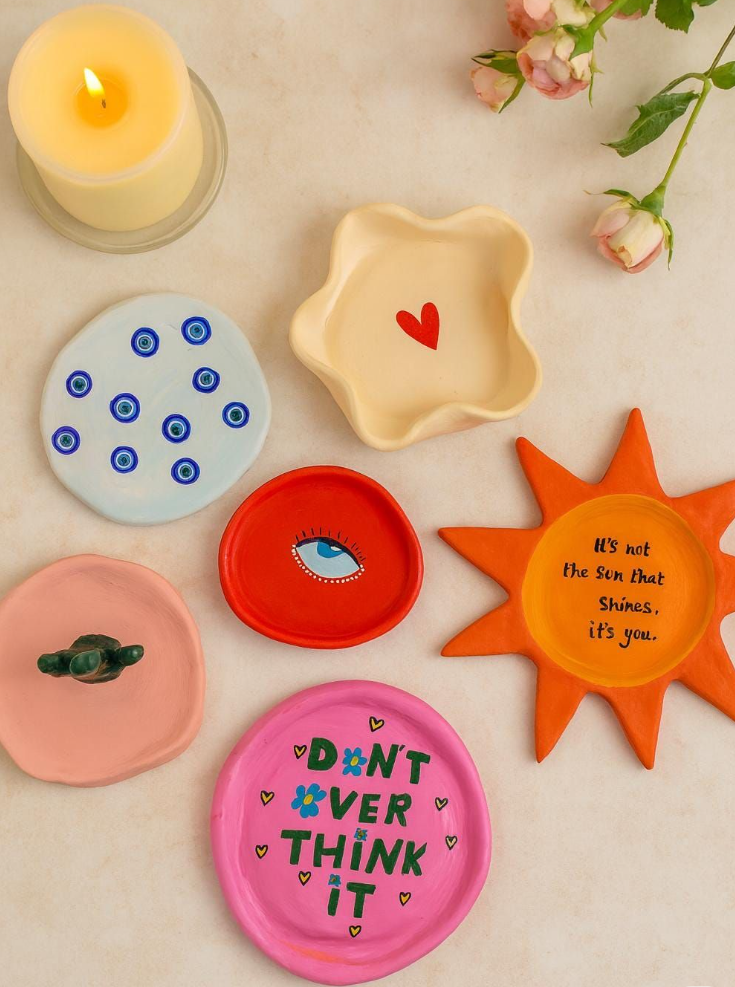
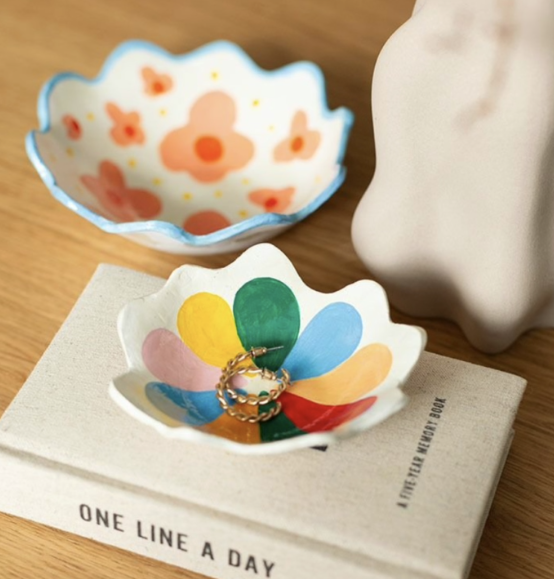
- Get Creative: It’s so versatile! It’s the perfect medium for making things that are really useful!
How to Get Creative
-
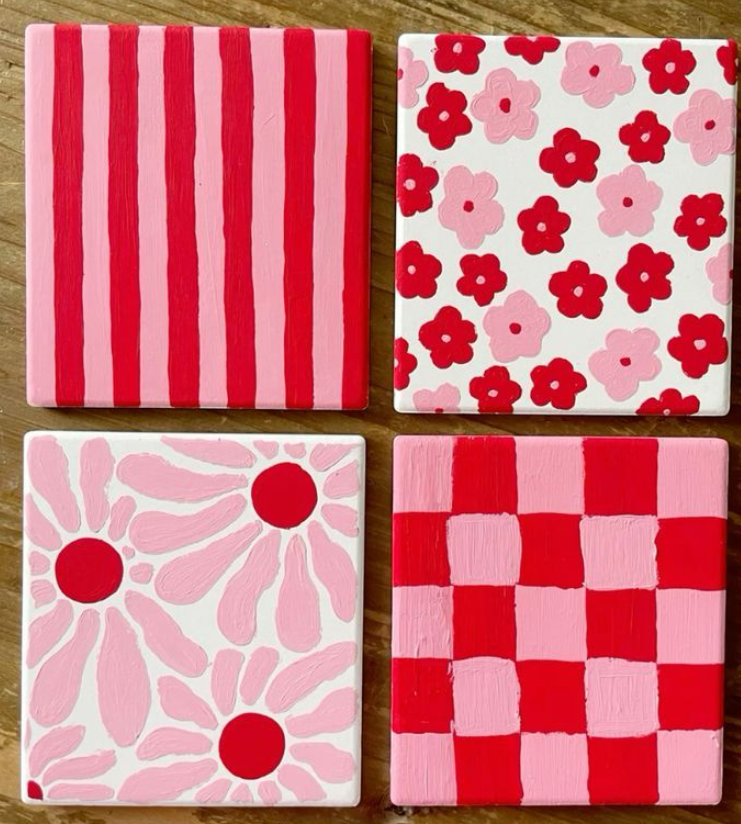
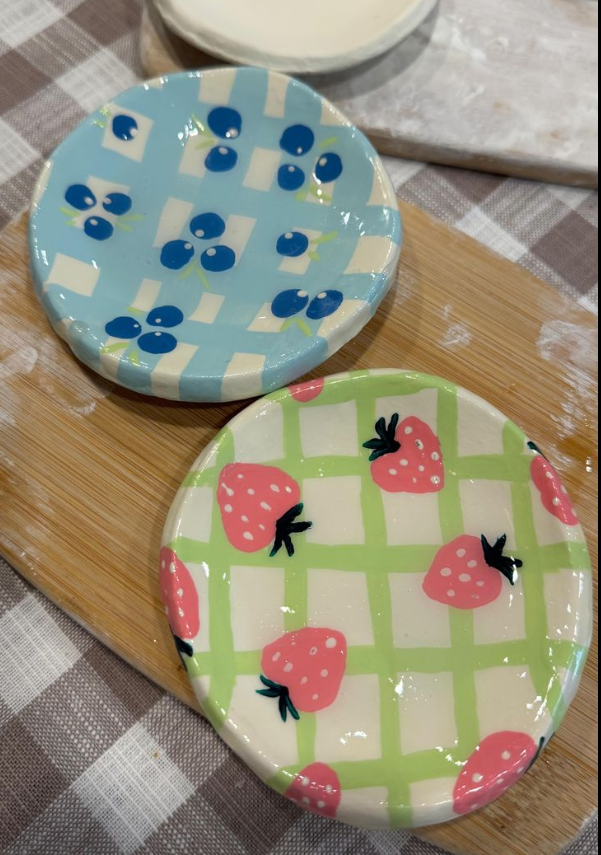
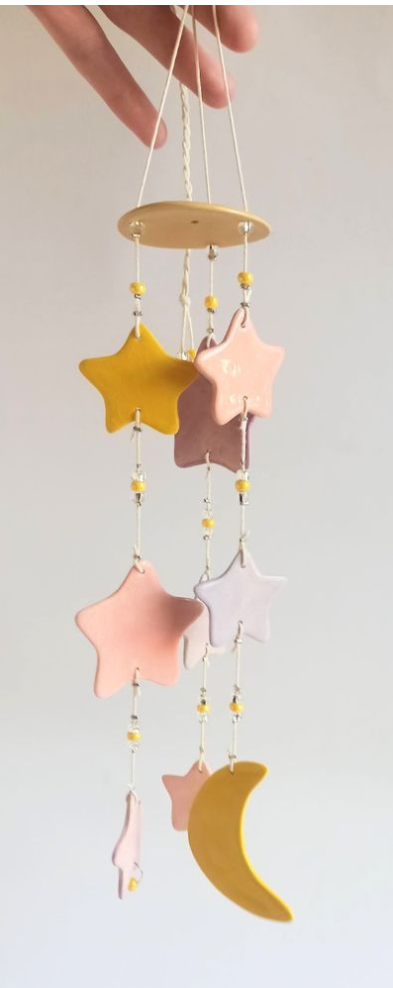
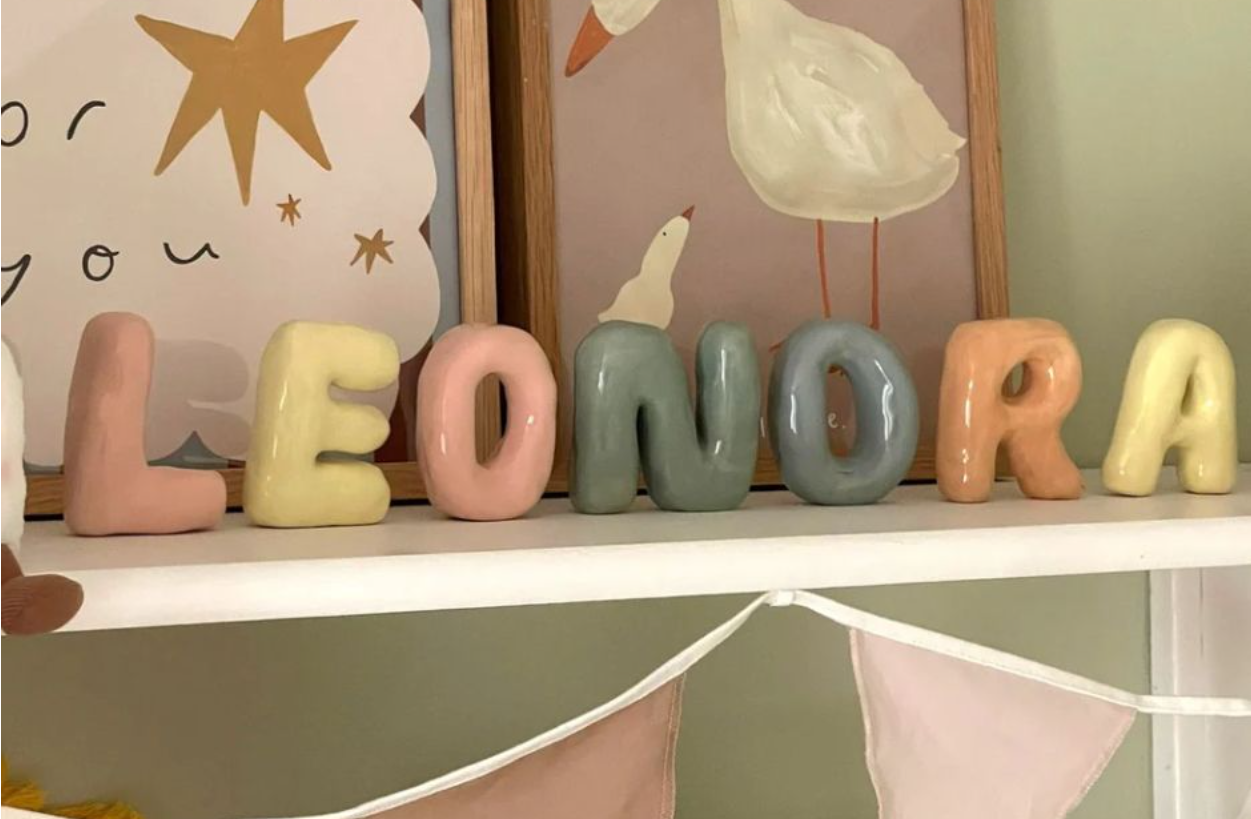
Decorate with Detail: Use acrylic paints to bring your piece to life. For a professional, solid finish, we recommend applying two coats. Be patient, let the first coat dry for about 20 minutes before applying the second to ensure a smooth, streak-free surface.
-
The Perfect Seal: To protect your work, finish with a layer of Mod Podge. It’s best to apply two thin, even coats rather than one thick one. Don’t be alarmed when it looks milky or white upon application; it will dry to a perfectly clear, beautiful finish.
-
Get Inspired: Looking for your next masterpiece? Explore Pinterest for endless inspiration!
The toolkit:
You don’t need professional pottery tools! Most of these are already in your kitchen or junk drawer:
-
A smooth work surface: Use a silicone mat, a piece of baking paper, or the back of a plastic placemat to prevent sticking.
-
Rolling Pin: Or a smooth glass bottle.
-
Cutting Tools: A butter knife, a cookie cutter, or even a needle for fine details.
-
A small bowl of water: Essential for “erasing” cracks and smoothing edges.
-
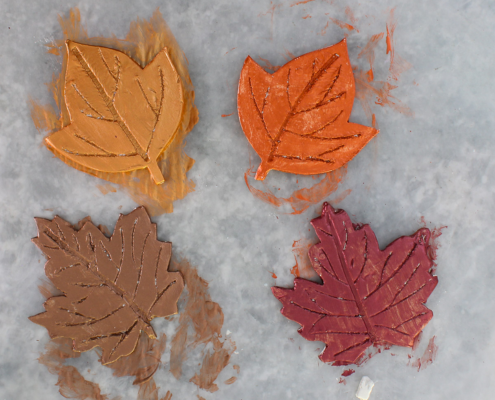
Texture makers: Look for things around the house—lace doilies, dried leaves, or even the bottom of a patterned glass.
Important: While incredibly versatile, air-dry clay is not food-safe or waterproof and should be reserved for decorative indoor projects rather than load-bearing or functional outdoor items
Step-by-Step: From Block to Beauty
1. Prep the Clay Slice off a chunk and “knead” it in your hands for a minute. This warms it up and removes any tiny air bubbles that might cause cracks later.
2. Roll and Shape Roll the clay out to a thickness of about 5mm (roughly the height of two stacked $2 coins). If it’s too thin, it will be brittle; too thick, and it will take forever to dry! Use your cutters or knife to create your shapes.
3. Smooth the Edges Dip your finger in the water and gently rub any “burrs” or rough edges. This is the secret to making air-dry clay look like high-end ceramic.
4. The Dry Out Place your items on a flat surface away from direct heat or sunlight (which can cause cracking). Flip them over after 12 hours so the bottom dries evenly. Wait at least 24–48 hours until they feel stone-cold and look chalky white.
5. Sanding (Optional) If you still have some rough spots once dry, you can use a bit of fine-grit sandpaper or a nail file to buff them away before painting.
6. Decorate & Seal Apply your acrylic paint (two coats!) and finish with your Mod Podge to give it that professional, glossy glow.
If you have to stop halfway through, wrap your leftover clay tightly in cling film and then put it in an airtight container or Ziploc bag. Air is the enemy of clay, keep it sealed to keep it soft!
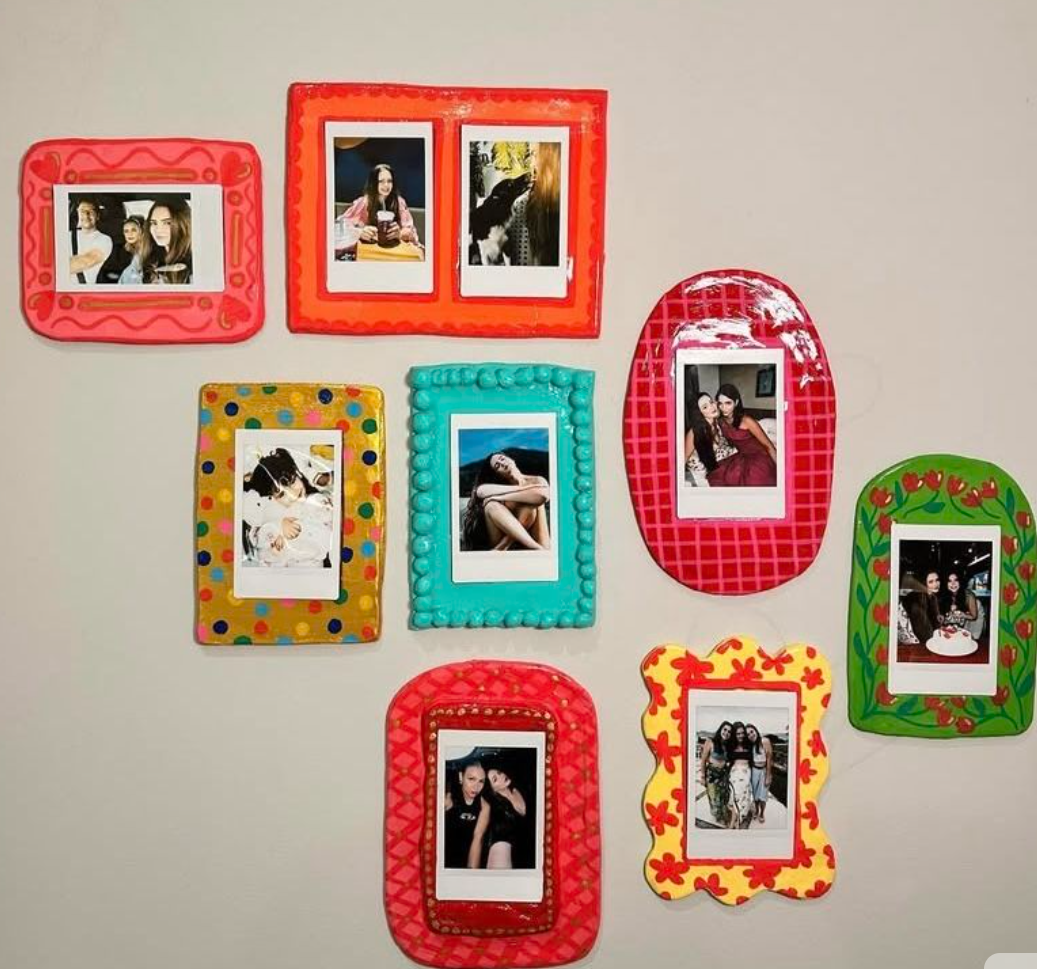
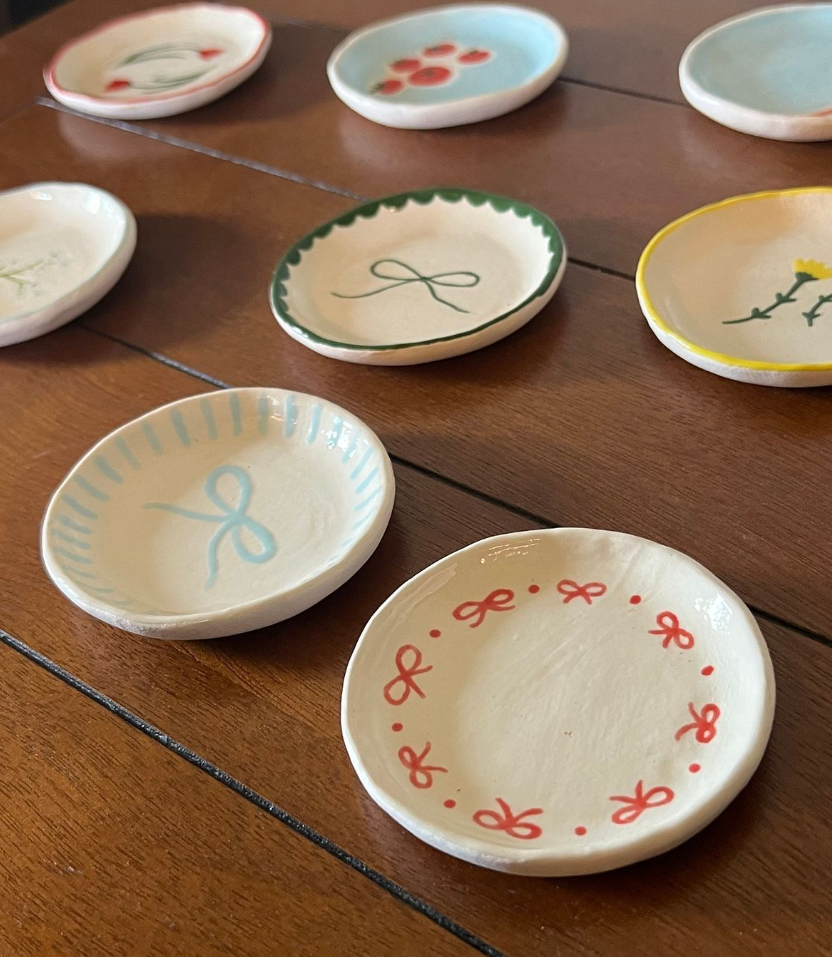
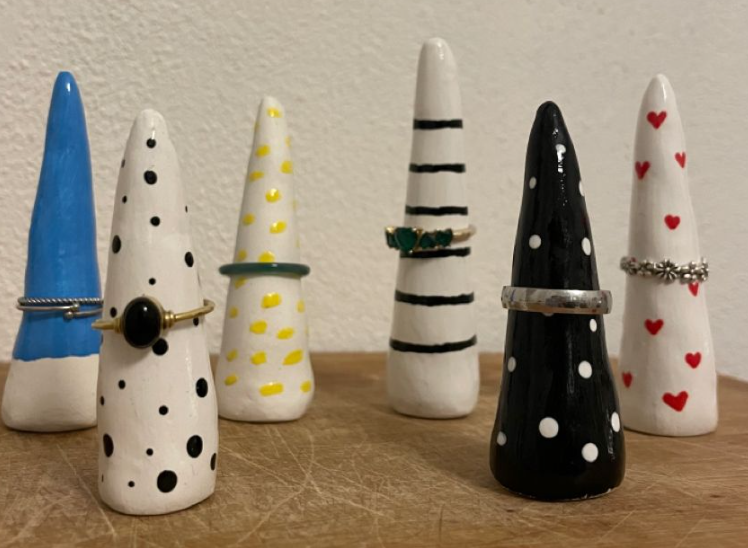
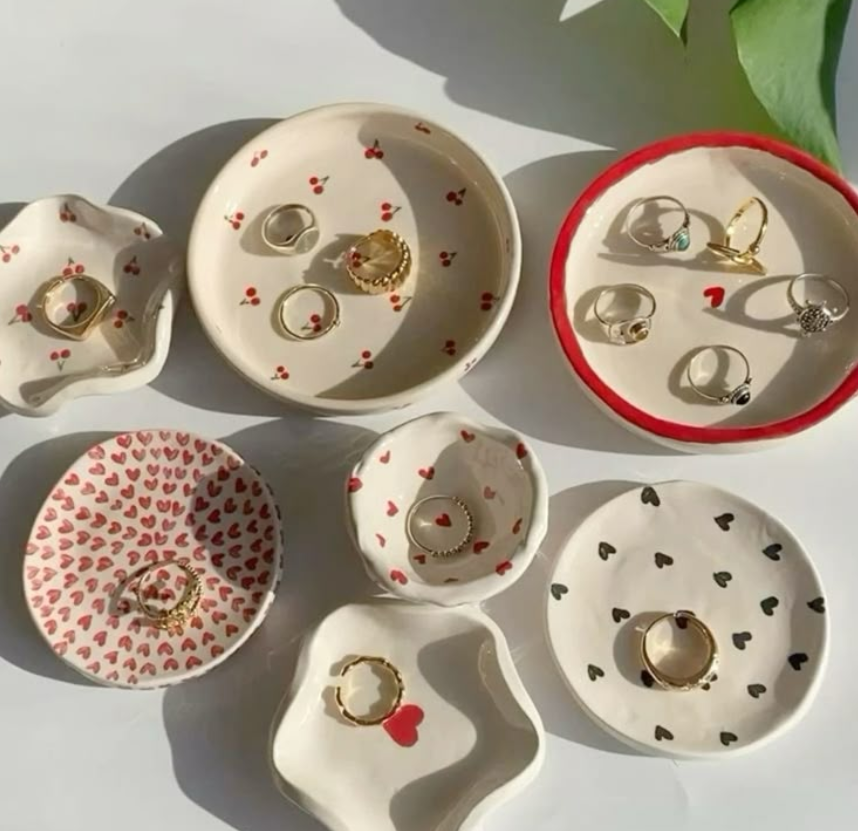
Projects to try


You must be logged in to post a comment.